Install Grub Customizer 3.0.4 in Ubuntu 13.10/Ubuntu 13.04 Raring/Ubuntu 12.10/Ubuntu 12.04/Ubuntu 11.10/Older Ubuntu Version/Linux Mint 14/13/12/11 and previous Mint version
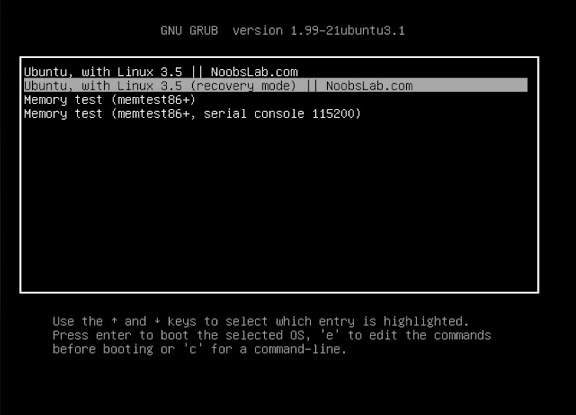
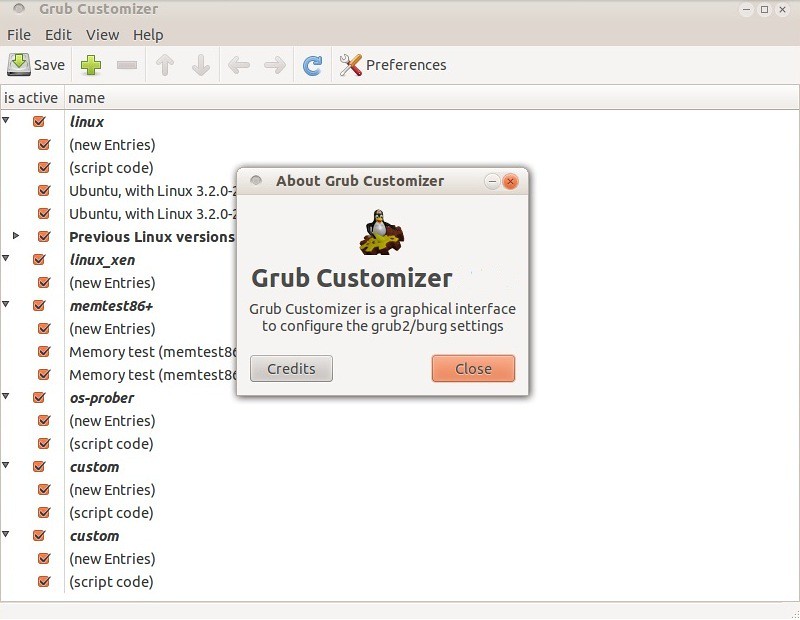
Grub Customizer - a new graphical GRUB 2, You can now select the default boot entry, change the menu visibility and timeout, set kernel parameters, disable recovery entries and change screen resolution (GFX_MODE) - all by using Grub Customizer.
Grub Customizer - a new graphical GRUB 2, You can now select the default boot entry, change the menu visibility and timeout, set kernel parameters, disable recovery entries and change screen resolution (GFX_MODE) - all by using Grub Customizer.
>>> Latest Update <<<